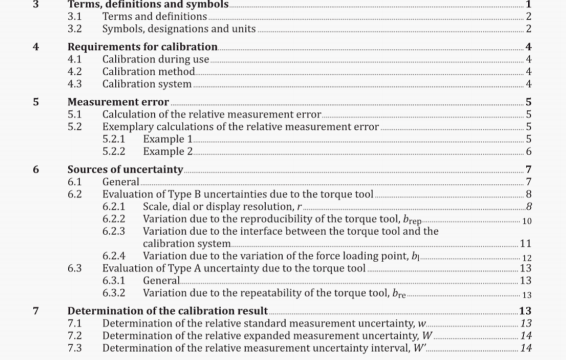
ISO 6789-2 pdf download – Assembly tools for screws and nuts —Hand torque tools — Part 2: Requirements for calibration and determination of measurement uncertainty.
The mean value of the measurement series is calculated using Formulaj4) with n 10.
6.2.3.3 VariatIon due to geometric effects of the Interface between the output drive of the torque tool and the calibration system. b1
Hexagon and square drive Interfaces between the output drive of the torque tool and the calibration system have an influence since they can potentially run out of true and if not used in the same orientation each time, they can cause variation of reading.
The interface between the output drive of the torque tool and the calibration system shall be identilied and documented.
The following method is described for the determination of the variation brn( due to the drive interface. This value may be determined statistically for a sufficient number of specimens (at least 10) of a model of tool and Its determination does not need to be repeated each time for future calibrations of this model.
The tool shall be positioned on the calibration system according to ISO 6789-1:2017, 6.5, and subjected to five preloadings at the lower limit value of the measurement range, Tm.
The torque tool is removed from the calibration system and the drive interface is rotated by 60°
(hexagonal drive output) or 90° (square drive output). Ten measurements are recorded for each of at
least four positions distributed evenly over 360°. at the lower limit value of the measurement range.
Tmin, without changing the load application point.
The variation due to the influence ol the drive interface is calculated using Formula (6):
= max( Xri ) — mini (6)
The mean value of the measurement series is calculated using FormuLi{4J with n 10.
6.2.4 Variation due to the variation of the force loading point. b1
Most torque wrenches have some variation in torque observed depending on the exact force loading point on the handle. This does apply to both indicating and setting wrenches, but not to torque screwdrivers of either type. For torque screwdrivers, the value of b1 shall be set to zero.
Where the loading point is not marked on the torque tool and no manufacturer Information is available. the dimension from the axis of rotation to the loading point used shall be documented.
The following method is described for the determination of the force loading point variation. bp. This value may be determined statistically for a sufficient number of specimens (at least 10) of a model of tool and its determination does not need to be repeated each time for future calibrations of this model.
The tool shall be positioned on the calibration system according to ISO 6789-1:2017, 6.5, and sublected to five preloadings at the lower limit value of the measurement range, Tmin.
Ten measurements are then recorded for each of two positions with changed force loading point, at the lower limit value of the measurement range, T,,. The two force loading points shall be 10 mm on either side of the centre of the hand hold position or the marked loading point.
C.2Symbols
For the application of this annex, the symbols, units and terms stated in Table 1 are applicable.c.3 General guidelines for the reference measurement standard
Step by step or progressive calibration is achieved by the incremental loading of the measurementdevice to be calibrated.An example of a progressive loading method is using a length beam and a seriesof masses that generate a force under gravity.
In continuous calibration, the torque measurement device is subjected to a continuously changing load.An example of a continuous loading method is using a length beam and hydraulic cylinders delivering ameasurably increasing force.
Transfer torque wrenches can also be used to measure the torque provided by the measurement devicebeing calibrated.The torque can be increased in a progressive or continuous manner.
The reference measurement standard should be designed and assembled such that both clockwise andanti-clockwise torque can be applied without the significant influence of non-torsional forces, such asbending moments.
The torque measurement axis can be either horizontal or vertical. The preferred orientation reflectsthe orientation of the measurement device when in use.
Where a reference measurement standard is achieved by means of a transfer torque wrench, it shall bepossible to vary the lever arm length over the range of the lever arm lengths of commercially availabletorque tools having the measurement range to be calibrated.
ISO 6789-2 pdf download – Assembly tools for screws and nuts —Hand torque tools — Part 2: Requirements for calibration and determination of measurement uncertainty
