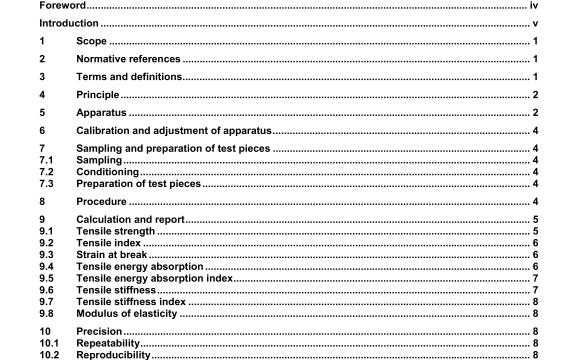
ISO 1924-3 pdf download – Paper and board-Determinationof tensile properties — Part 3: Constant rate of elongation method(100 mm/min).
7.2 Conditioning
Condition the specimens of paper and board as specified in ISO IS?. Keep then in the conditioning atmosphere throughout the test.
This test, like other mechanical tests, is very sensitive to changes in the moisture content of the test piece, Handle the test pieces carefully, and avoid touching with a bare hand the part of the test piece to be placed between the clamps. Keep the test pieces away from moisture, heat and other influences that may change their moisture content.
7.3 Preparation of test pieces
If the tensile Index, tensile stiffness index or tensile energy absorption index is required, determine the grammage of the specimens as described in ISO 53t If the modulus of elasticity is required, determine the thickness as described in ISO 534,
From specimens of undamaged paper and board, cut test pieces with a width of 15,0mm ±0,1 mm and long enough to be damped in the clamps. Avoid touching with a bare hand the part of the test piece to be placed between the clamps, avoiding watermarks, folds and wrinkles. Ensure that the test pieces are representative of the sample to be tested. The long edges of the test pieces shall be straight, parallel to within t 0,1 mm over the total clamping length, cleanly cut and undamaged. Cut a sufficient number of test pieces to enable at least 10 tests to be made in each direction & interest (machine direction, cross direction).
NOTE Several test pieces can be oA sinultaneously, provided that the test pieces obtained fulfa the requirements specified above and that the test pieces obted wve the same result es test pieces cut one at a tine
A test width of 25.0 awn ± 0.1 mm or 50.0 mm ± 0,1 mm is also permitted, but this shall be reported.
8 Procedure
Ensure that the testing machine is calibrated as described in Clause 6. Place the test piece In the clamps without straining it and so that any observable slack is eliminated Avoid touching the test area between the clamps with the fingers- Align and tightly clamp the test piece and perform the test.
Test at least 10 test pieces in each direction & interest (machine direction, cross directiOn). Reject all readings for test pieces that break within 2 mm of the clamping lines.
11 Test report
The test report shall include the following information:
a)reference to this part of lSO 1924;
b)date and place of testing;
c)all the information necessary for complete identification of the sample;
d)the conditioning atmosphere used;
e)the direction of the test;
f)the type of clamps used;
g)if tensile stiffness is determined, the accuracy of the recording of elongation (in the range 0 mm to 1 mm);
h)required results,as specified in Clause 9;
i)the width of the test piece, if not 15 mm;
j)the coefficient of variation of the required results;
k)any departure from this part of lSO 1924 that may have affected the results.
ISO 1924-3 pdf download – Paper and board-Determinationof tensile properties — Part 3: Constant rate of elongation method(100 mm/min)
